
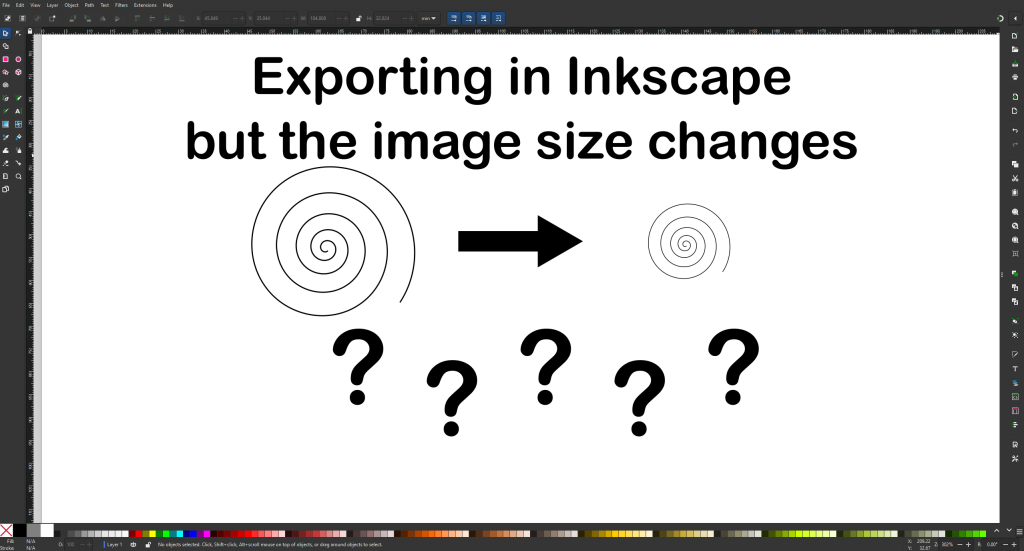
Inkscape is a fantastic free and open-source vector graphics editor. As a maker, Inkscape is my most used software when it comes to designing and working with vectors. Despite its power and ease of use the one function that has always been difficult for me is properly exporting an image for use in another software. I have had a recurring issue when creating an .SVG file in Inkscape and attempting to use that image in other software, such as Fusion by AutoDesk for 3D Printing or Lightburn, where the image mysteriously changes size once imported into the new software.
This process of the image changing sizes while exporting is known as scaling. When exporting the image Inkscape automatically scales the export, but it is not very intuitive on how to adjust this. In Inkscape scaling is controlled in the document properties tab. To access this section either create a new document within Inkscape or open an existing document and go to File > Document Properties or press Shift + Ctrl + D on your keyboard.

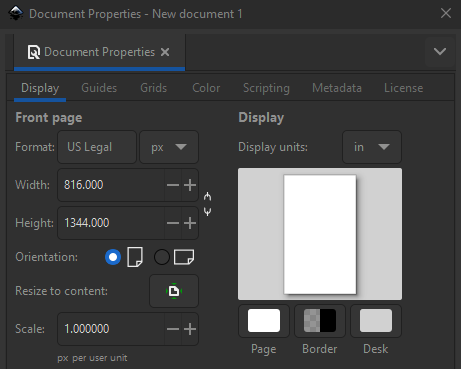
This will open the Document Properties window:

There are a lot of settings here, but two settings are important for fixing the scaling issue: the Format display unit in the Front page section and the Scale option.
Step 1: Update the Format display unit to “px”.

Notice how by changing this setting the Scale automatically adjusted.
Step 2: Update the Scale field to “1”.
Step 3: Update the Format display unit back to “mm”.
Step 4: You can now close out of the Document Properties. Now when you export your image and import this to other software the final image size should remain constant.